With greased hands, it's kinda tricky to take photos, still managed to get some essential ones. These are sufficient for anyone to know what to expect from this DIY task.
Allen Key #6 for the bar-end weights
Two screws and the left switchgear come apart. Notice the tiny hole on the handlebar, a plastic from the switchgear fits there. It restricts it from rotating around the bar when switches are pushed.
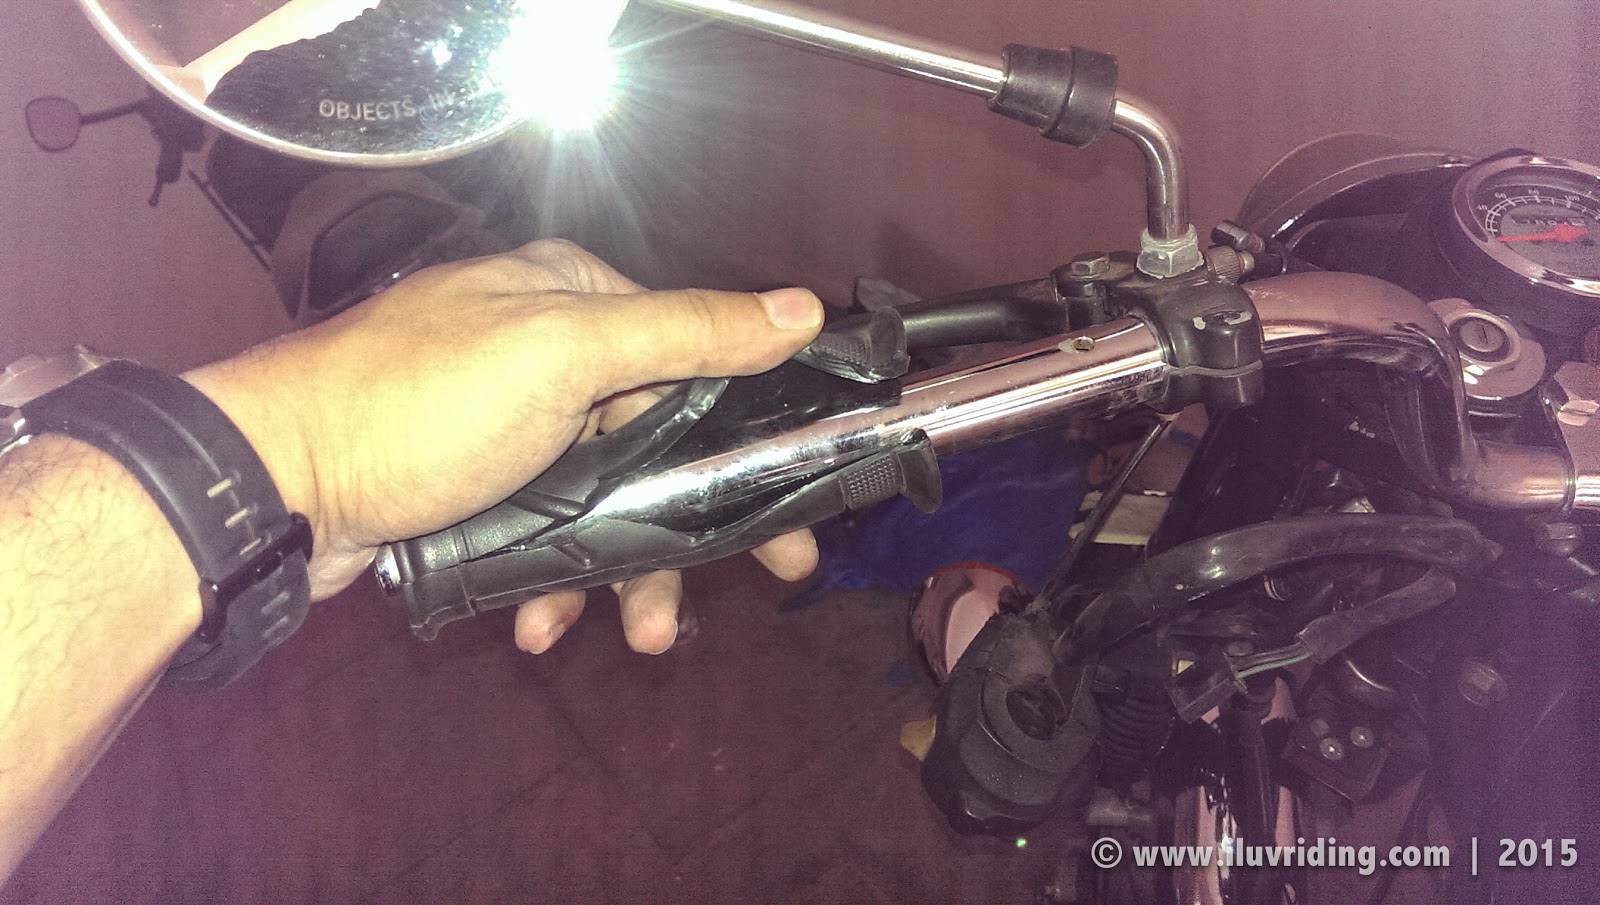
This I swear was the toughest part and was the least significant one in the grand scheme of things. So when it took more time than I was ready to spend for this, I went ahead and did this...
This!! Gotta get a new set of grips now :)
[Update: Try this for grip removal instead]
Loosen the adjustment tube at the end of the clutch cable near the handle bar and get the clutch cable out from its groove. Bit tricky for first-timers but have patience and don't damage the cable by any chance.
Right-side switch gear with the throttle assembly
Carefully remove the throttle cable from the hand grip slot.
I was lucky to have a neighbor lend me his size #17 spanner. I am gonna add it to my tool kit now.
RD350 (replica) handlebar compared to Electra 5s stock handlebar
These two bolts below the handlebar would need size #14 spanners and are fairly easy to take out or put in.
The groves which restrict the handlebar from rotating once tightened, are very faint on the RD350 black model. So I tried to use the saw blade from my Gerber to etch some lines. Later got some cut marks done by a mechanic on the roadside using a hammer and a chisel. Hope this holds up.
Before tightening all 4 screws, sit on the seat and adjust the bar to your preferred position.
Slide in the mirror and clutch assembly before putting on the switch gear.
Align the switch gear to stay exactly on the hole on the bar, the plastic bit should fit right inside.
Test all the switch operations once. Note: I had to remove the fuel tank to get access to the cables, which were required to be pulled by 2-3 inches more to fit this new extended handlebar.
First, put the small drum into the grove and then use some force (and pull and release trick) to bring the clutch cable to its path.
The adjuster screw seen here needs to be slotted in and then screwed into the lever hinge.
Final look. Yesss!!
Totally it took 2-3 hours to complete this. I am yet to add the zip ties, as I don't have black ones with me. That would complete the setup. In case you have any queries on this post/steps, feel free to post them in the comments.
Confidence comes from experience, so get your hands dirty in things you like.
Cheers !!,
Sid


No comments:
Post a Comment